Flat Loaf, Clear Answer: How to Read Your Sourdough and Find the Fix That Matters
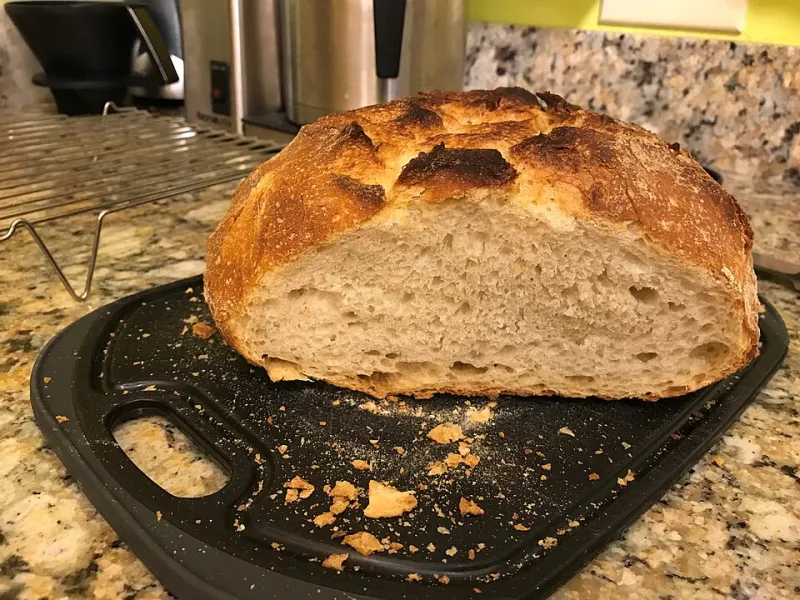
Photo: Nutrition, Food Safety & Health, CC0, via Wikimedia Commons
There's a particular silence that arrives at the counter with a flat loaf. The baker sets it down, still half-wrapped in its tea towel, and says something like: "I did everything the same as last time." And they almost always did. That's the trouble with sourdough in a British kitchen — the same recipe in July and in November behaves like two different recipes, because it is two different kitchens, at two different temperatures, with flour from two different bags.
So rather than hand over a checklist and send you home with homework, we do this: we slice it, we look at it, and we work backwards.
Read the crumb before you change a single thing
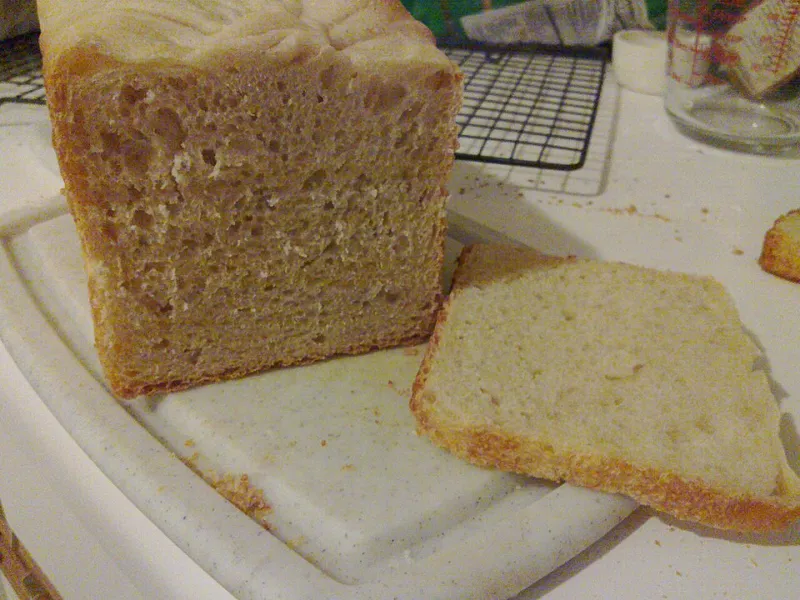
A dense loaf is evidence, not a verdict. Cut it open and look properly, ideally when it's cool. The pattern of the crumb is the dough telling you what happened.
- Tight and even all the way through, pale crust, modest oven spring: this is nearly always under-proofed.
- A dense band at the bottom an inch thick with a more open crumb above it: shaping lost tension, or the loaf sat too long in a cold spot and slackened before it hit the oven.
- Large irregular holes with gummy patches and a shiny, pale interior: often over-proofed or under-baked, where the dough ran out of energy before it set.
- A fine crumb with a nicely browned crust and decent spring: this is usually flour or hydration, not fermentation.
- Good crumb, pale crust, no ear: heat and steam.
With that in mind, here are the five suspects we see most often — and how to tell which one is yours.
Suspect one: a starter doing the bare minimum
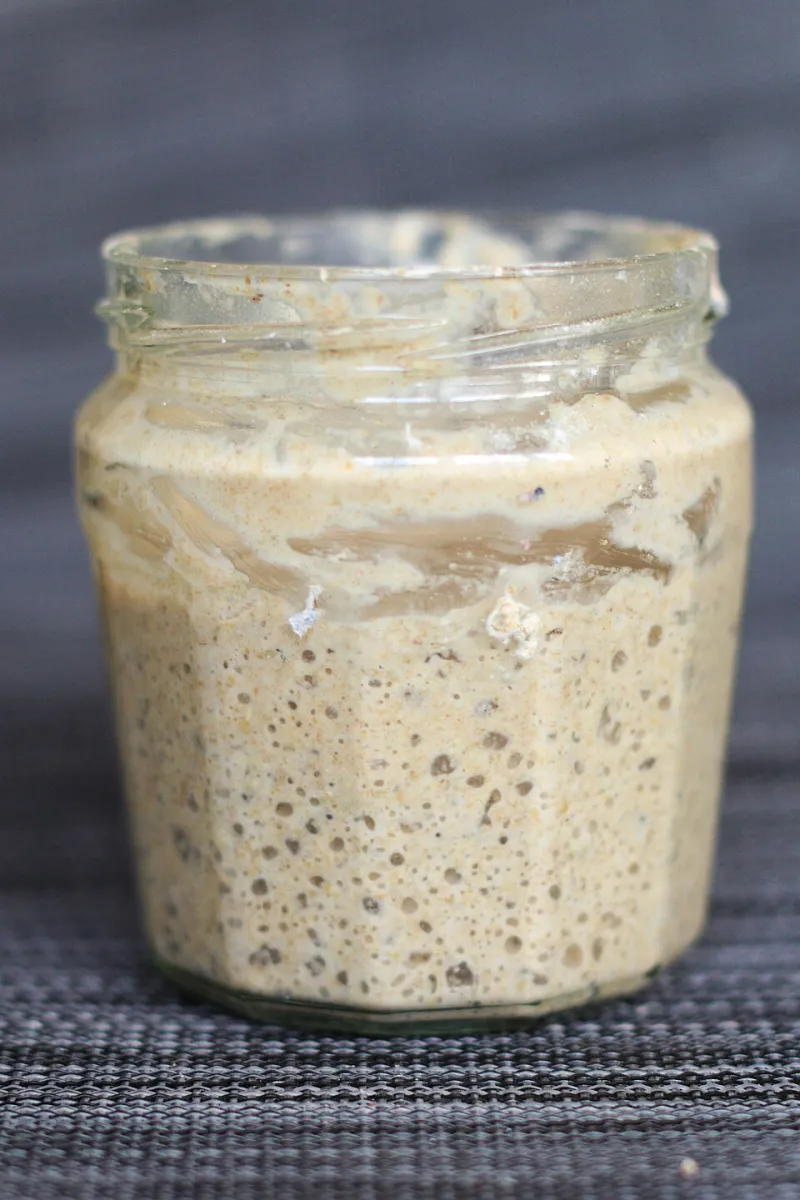
A sluggish starter still bubbles, which is what makes it so convincing. The giveaway is that it never really domes, never smells sharply sour, and takes eight or ten hours to double in a chilly November kitchen.
Give it a couple of days of 1:1:1 feeds, keep it in the warmest spot you have — airing cupboard, top of the fridge, next to the kettle — and stir in a spoonful of wholemeal or rye at each feed. The float test is a parlour trick; a starter that doubles predictably in four to six hours is worth more than one that floats.
Suspect two: under-proofing, dressed up as character
The most common cause by a distance, and the one we all blame last. Two things catch people out. First, bulk fermentation: dough at 18°C in a November kitchen needs considerably longer than dough at 25°C in June. That's not a failure, it's arithmetic. Second, final proof: cold retarding overnight sounds sophisticated but needs a starting point that's actually ready.
Judge the dough, not the clock. For bulk, look for a rise of roughly half to three-quarters, a domed rather than flat top, bubbles at the edges and a slight jiggle when you shake the bowl. For the shaped loaf, press a floured finger in — a slow, partial spring back means it's ready; a bounce straight back means wait longer.
Suspect three: flour that can't carry the load
Supermarket shelves are a lottery. Own-brand plain flour sits around 9–10% protein; a decent strong bread flour runs 12–13%. Swap one for the other and your "same recipe" quietly turns into a different dough that can't hold its own structure. Wholemeal brings the opposite problem — it drinks water and needs a touch more hydration to loosen up.
Keep a note of the flour you used, bag and all. If a loaf suddenly collapses after a change of brand, you've found your answer in about four seconds.
Suspect four: shaping without tension
A slack shape goes flat no matter how beautiful the ferment was. After your pre-shape, rest the dough for twenty minutes, then shape with real intent: drag it across the counter with a bench scraper until the surface tightens, stitch the seam, and drop it into the banneton seam-side up. The dough should feel like it's holding itself together, not pooling.
Suspect five: an oven that isn't as hot as it claims
Domestic ovens cycle, and the dial lies by twenty degrees in either direction. Preheat for a full forty-five minutes with the Dutch oven inside, aim for 230–250°C, and don't open the lid for the first twenty minutes. Steam in the first half of the bake is what gives you the ear and the thin, glossy crust. A cheap oven thermometer will save you months of bafflement.
The one fix worth trying first
If you only change one thing this week, change this: extend your bulk fermentation, and judge it by the dough rather than the timer. Nine loaves in ten that come across our counter were simply under-proofed.
How to do it properly, so you aren't guessing:
- Keep every other variable exactly as it was — same flour, same starter, same oven.
- Take a small offcut of dough after mixing, press it into a straight-sided glass, and mark the level with a rubber band. That's your window into the bowl.
- Let the main dough run thirty to forty-five minutes longer than usual, checking every twenty. Watch for the offcut rising by half again, not doubling.
- Bake, cool, cut, and compare the crumb to last week's.
Only one change at a time, or you'll never know which one worked. If your bulk is already generous and the loaf is still heavy, move to the starter next — vigour before technique, every time.
Bring it in and we'll cut it together
If you're stuck, bring the loaf to the bakehouse, along with a scribbled note of your timings, room temperature and flour. We keep a knife behind the counter for exactly this. Half the fun of a neighbourhood bakery is arguing gently about somebody else's crumb — and finding out that the fix was usually simpler, and warmer, than they feared.